The 'Mum' Skirt
Pattern Review - New Look 6843
So everyone, I come bearing bad news....my sewing machine is poorly.
The bobbin is jamming again, so it is at the repair shop having a service.
However, after some tears (yes folks I cried) and a couple of days feeling rather lost, I vowed not to be defeated and even managed to squeeze out some sewing before the withdrawal symptoms became too much to bear.
I had a lovely invitation from Giselle at The Crafty Beaded Knitter to do some sewing one afternoon, even before she knew that my sewing machine was poorly. We spent the afternoon chatting all things sewing and I sewed up view A of this simple skirt - New Look 6843.
I have named it the 'Mum' skirt because everything, including the pattern I stole my mum donated to me. My mum originally sewed up this skirt in a different pattern but wasn't so keen on it, and it ended up in the UFO pile. I asked a couple of times why it was there - as she only had to hem it - and after looking at the pretty polka dot fabric I decided that I could squeeze a new skirt out of it, or at least a wearable muslin.
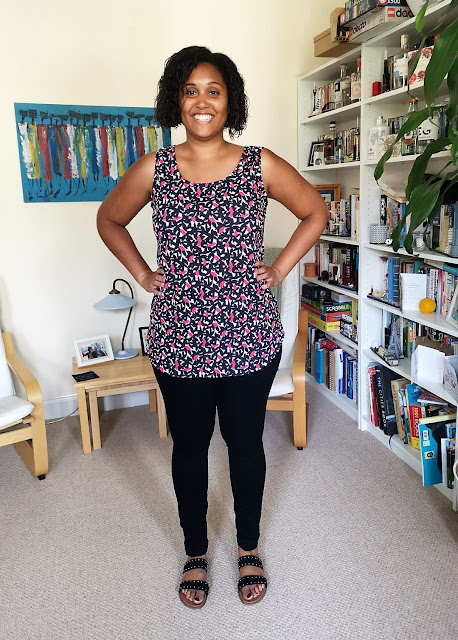
This skirt makes me chuckle as although I know my poor cutting skills are partly to blame, it reminds me of the other type of FBA that I need to do when sewing garments - a Full Butt Adjustment. Look at how much the back hem is raised compared to the front!
So let's talk about adjustments I actually made. I cut a size 14 and I shorted this skirt by 4.5 inches as it originally sat below the knee. I lined this with some brown lining from my stash. (I originally thought that it was black, but I clearly need my eyes tested, or I was so distraught from grief about my poorly sewing machine that I literally couldn't see straight).
I used a 7 inch zip - this is what was suggested on the envelope and luckily what my mum had originally sewn into the skirt. However, I think that I should have used a longer zip as the skirt does struggle to get over my butt/hips when putting it on, but once zipped up it all fits fine. I didn't bother with a waistband, and just folded down the lining - wearable muslin style - and I used bias binding on the hem.
I do like this pattern and I would sew it again with the couple of adjustments mentioned above. I would probably taper in the sides a touch as although I was going for an A-line style, it's probably a touch wider than my liking. Overall, as a wearable muslin I am happy with this skirt and I am sure that it will go into the work rotation this winter. It's one of those garments where I feel as though I have sewed much worse, but I have also sewed much better.
As I am usually a 1 project at a time kinda gal, I will have to break free of this and do some cutting out, or god forbid, some MENDING!!!! I hate mending, but now is the time I guess. I have also been tracing some free patterns that I also stole from my mum. Seriously - my mum doesn't ever need to clear out her sewing room as every time I visit it's like her stash has had a spring clean. Project preparation aside, I am glad that I am going on a work trip next week as it will mean that I won't be sat in my room and looking at my empty sewing table with puppy dog eyes.
Anyway, enough of me feeling sorry for myself - you can find my post on Pattern Review here.
For those of you with working machines - Happy Sewing!


What a cute skirt! I love the fabric, I think it will go with lots of other colors, too.
ReplyDeleteIt is a darling skirt and looks cute with your jacket. If you just plan on using that as a muslin, why not take down the hem, maybe replace the zipper to make it easier to get on, and since there is a different in the length of back and front hems, maybe you could add a solid black band at the bottom? It's too cute not to wear. (I have the same FBA to make on mine).
ReplyDeleteI agree, it it far too cute not to wear. And you have learned so much with this little skirt - that's what the process is about.
ReplyDeleteThe skirt looks gorgeous! With your new jacket even more so.
ReplyDeleteI can attest that the back hem is not quite that much shorter in real life. It looked like about an inch in difference. I guess it might depend on how it sits on your waist.
I was very intrigued to see the construction technique of using bias tape on the inside of the hem, this was new to me. I love the effect of it, so pretty!
I love this outfit, it is wonderful.